
From the street, a siding job looks simple. Old boards come off and new ones go on. The work that decides how long the new siding lasts happens in between, and most of it is hidden by the time the last panel is up. Knowing the order of work helps you ask sharper questions before you sign anything, and it helps you make sense of what you see on the days the installers are at your house.
Planning, measuring and approvals
Every installation starts with a tape measure. The walls are measured, every window, door, vent and hose bib is counted, and the trim, corners and starter pieces are worked out from that. This is also when you settle the material and profile, whether that is vinyl, fiber cement or something else.
Paperwork comes next. In Broward and Miami-Dade, which sit in the Florida Building Code's High-Velocity Hurricane Zone, re-siding is a permitted job in most cities, and the product has to carry an approval for use in that zone. Ask who is applying for the permit and which approval number the product carries before any material is delivered.
Protecting the house and the yard
Before the first board comes off, the site gets set up. Patio furniture, grills and planters move away from the walls. Shrubs and garden beds along the house are covered, and tarps go down to catch nails and broken pieces.
Fiber cement adds one more step. Cutting it makes fine dust, so cuts are made outside with dust-collecting saws or shears, away from open windows and the air conditioner. A good crew also runs a magnetic sweeper across the lawn and driveway every day, not only on the last one.
Taking off the old siding
Tear-off usually runs one wall at a time. That keeps the exposed sheathing to a section that can be covered again before the end of the workday, which matters in a place where summer afternoons often bring a downpour.
Light fixtures, outlet covers, shutters, house numbers and anything else fixed to the wall come off first and are set aside to go back up later. If you have something you want kept, such as a decorative bracket, say so before work starts.
Checking the wall underneath
With the old cladding off, the sheathing and framing are checked. Installers press on soft spots, look for dark staining around windows and under sills, and watch for termite galleries in wood. Damage found here has to be repaired before anything new goes over it, and it is usually priced separately because nobody can see it in advance.
What turns up during this step, and how it gets fixed, is covered in more detail in our article on what happens to the wall when old siding comes off.
House wrap and flashing
Siding sheds most rain, but some water always gets behind it. The layer that stops that water is the water-resistive barrier, usually a house wrap, lapped like shingles so each upper course overlaps the one below and taped at the seams.
Flashing is where many problems start or stop. Windows and doors get flashing at the sills and heads, and where a roof meets a wall a kick-out flashing steers water away from the siding instead of down behind it. This is the stage worth asking to see before it gets covered.
Starter strips, corners and trim
Next come the reference lines. A level starter strip along the bottom of the wall sets every course above it, so it has to be straight and kept at the clearance the manufacturer asks for above the ground and any roof surface.
Outside and inside corners go up, then the trim around openings. On vinyl jobs that means J-channel and utility trim. Fiber cement usually gets trim boards around windows and doors, with flashing above the head trim.
Hanging the panels or boards
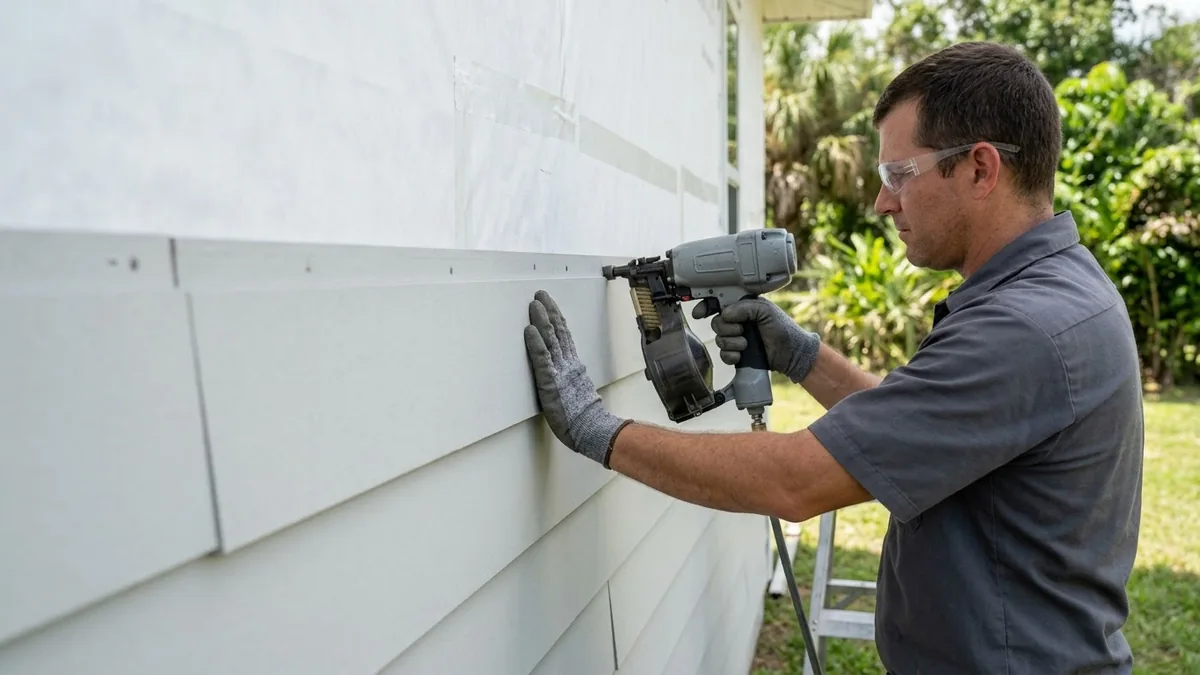
Vinyl and fiber cement go up differently. Vinyl is hung, not pinned. Each nail sits in the middle of the slot and is left a hair loose so the panel can slide as it heats and cools, and each panel locks fully into the one below.
Fiber cement is fastened firmly, either through the top edge where the next board covers the nail or through the face, which many high-wind installation instructions call for. Joints are staggered, cut edges are sealed or primed as the manufacturer directs, and the boards keep their required gaps at trim and corners.
Soffit, fascia and finishing details
Once the walls are covered, the details go back on. Light fixtures and outlets return on mounting blocks so they sit flat, vents get their own trim pieces, and soffit and fascia are finished where they are part of the job.
Primed fiber cement is painted at this point, and factory-finished boards get touch-up on cut ends and nail heads. Sealant goes only where the manufacturer allows it. Caulking vinyl laps, for example, stops the panels from moving.
Inspection, cleanup and the final walk-around
Where a permit was pulled, the job is not finished until the final inspection passes. The last day is for hauling off old siding and packaging, a final magnet sweep and a walk around the house with you, wall by wall, so anything that needs adjusting is caught while everyone is still on site.
If you want to see how this applies to your own house, our siding installation service explains the materials and what shapes the cost. Homeowners in nearby West Park can read about local housing and conditions on the West Park, FL page, and if timing is your main question, see how long a siding installation takes.